
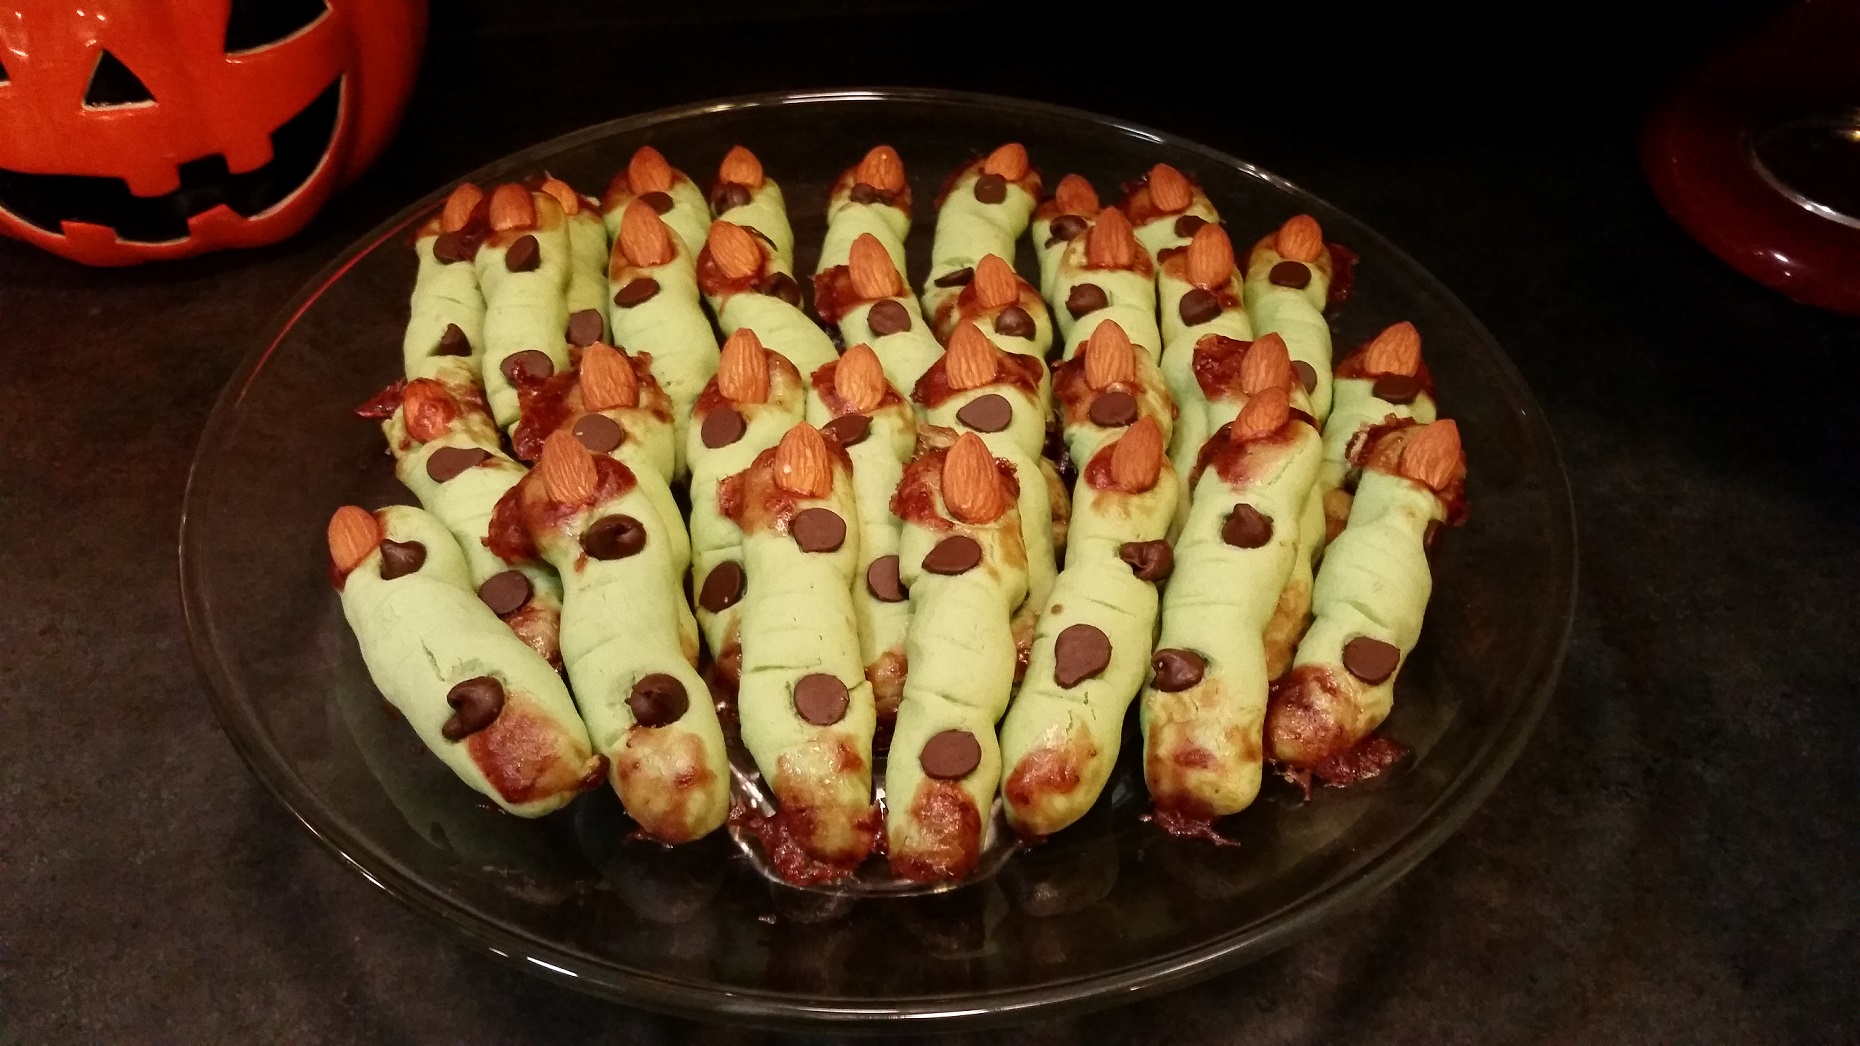
Yummy witches’ fingers! My younger son and I make these every October and they’ve become a Halloween tradition in our house. They look gruesome, but taste great. Although I’m sure the poor witches who sacrificed their fingers would disagree! I’ve actually had little kids refuse to eat them because they look so realistic. This, of course, delights my son every time. “Don’t be afraid. It’s just a severed witch’s finger. Try it! It’s good!”
They’re not hard to make, but are a little time consuming. The results are worth it. Most people are impressed when they see them. And they taste great with your morning coffee or whatever potion you’ve brewed up. Enjoy, my pretties!
Here’s the recipe I use:
Halloween Witches’ Fingers
Ingredients:
- 1 cup butter (room temperature)
- 1 cup confectioners sugar
- 1 egg
- ½ tsp. almond extract
- 1 tsp. vanilla
- 2 2/3 cup all purpose flour
- 1 tsp. baking powder
- 1 tsp. salt
- Green food coloring
- 3/4 cup almonds
- 3/4 strawberry jam
- 1/2 cup chocolate chips
- Using an electric mixer combine the butter, sugar, egg, almond extract, and vanilla.
- Slowly add in flour, baking powder, and salt. Add green food color until desired color. (I add about ten drops.) Mix well until your dough is nice and evenly green.
- Put dough in refrigerator for 1 hour. (Cover so it doesn’t dry out.)
- Preheat oven to 325 degrees. Prepare cookie sheets with parchment paper. When the dough is cold, remove from refrigerator and scoop out small balls of dough, one at a time and rub between your hands to create a skinny finger. Place fingers on cookie sheet in rows. They will puff when baked, so they look best if rolled out about the width of a fat pencil.
- To create the knuckles: Squeeze the fingers in two places and then make light cuts on them with a thin sharp knife. Afterward brush strawberry jam on both ends to look like blood. Push an almond into the top of each bloody finger for the fingernail. Then stick a couple of chocolate chips on each finger for the warts.
- Bake in the oven for 20-25 minutes until bottoms are light brown.
- Cool in cookie sheet for five minutes then transfer to cooling rack.